Unity Tutorial 05
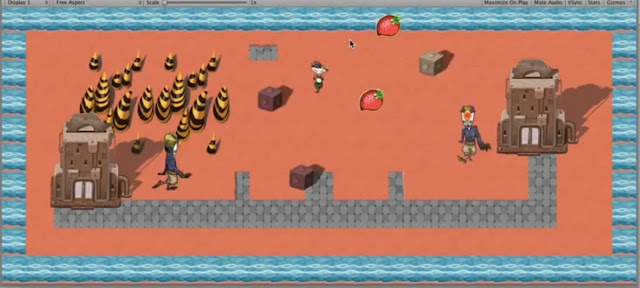
This weeks tutorial was probably the quickest tutorial or at least the easiest to understand tutorial that I've done this semester so far. In this tutorial, I covered the camera movement and particles within the game adding more movement for the player and more visual design elements to my game.
Firstly starting off this tutorial I downloaded a package called Cinemachine, it allows for more automatic control of the camera and requires no code just some camera settings, once I had the camera set up it was following Ruby around the map without disappearing or going past the boundaries around the map.
In this section, I began working on the particles of the game such as a smoke effect for the broken robots I had. I was excited to start this process as it adds more detail to the game and makes everything seem more alive. After figuring out how to get the sprites to work and starting on the smoke effect I began tweaking the settings within the "Particle system" in the inspector. I added a randomness function to the particles which allowed for more creative looking smoke with different lifetimes, sizes and speeds.


Hey Gavin, I'm glad to know that I wasn't the only one who struggled with the 2d unity tutorial because they were quite a struggle. Did you find that the tutorials got easier or harder as the weeks went on. Or did you feel that the tutorials stayed the same. Looking forward to reading more from you.
ReplyDeleteKind regards
Cian.